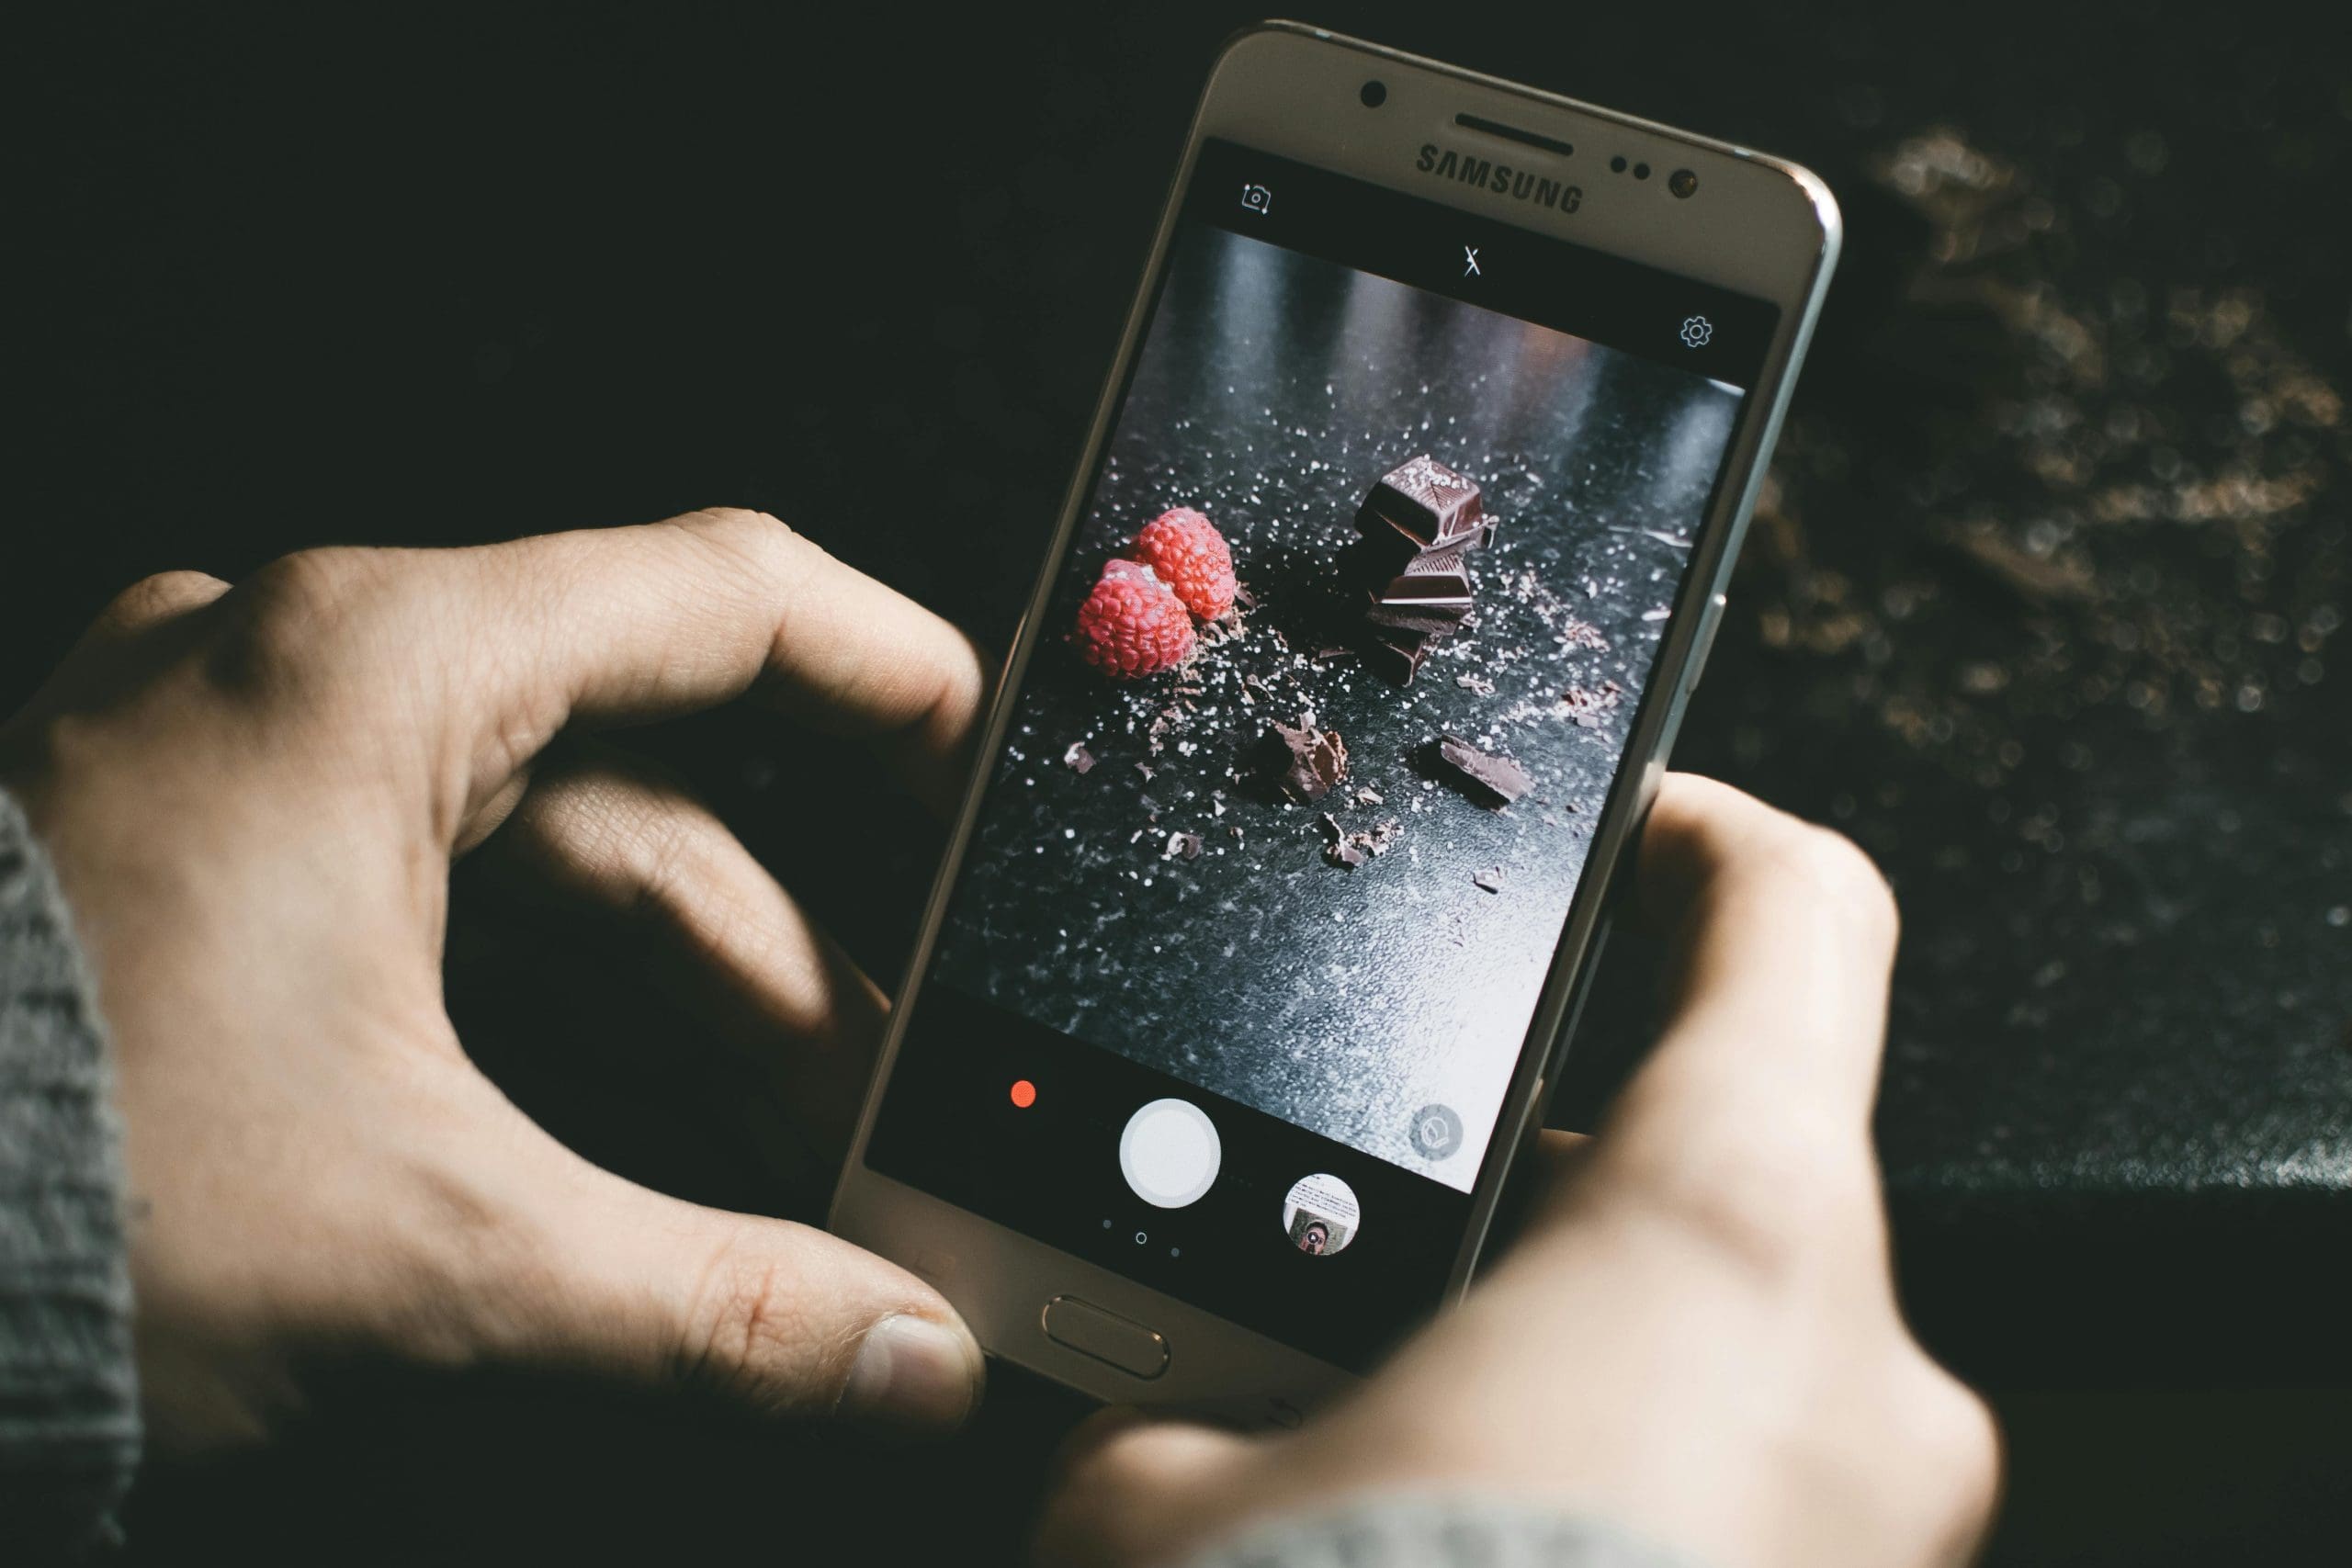
I decided to set myself a challenge: to see just how far AI could take my photography.
Today’s editing apps are packed with sophisticated AI tools, but could they really transform my everyday phone snaps into images that look professional?
To say photos snapped by smartphones are numerous would be an extreme understatement. It’s estimated that a whopping 5 million mobile photos are shot daily—quite the number.
Considering that capturing memorable photos is a global hobby, it wouldn’t be too much of a stretch to assume that editing them is important.
In this article, I will focus on utilizing AI to transform smartphone photos into professional-grade shots. Shots comparable to images taken with a DSLR or mirrorless camera.
And if I can do it… so can you. So buckle up as I rev up AI to take you on a photography-enhancing journey.
Can AI Editing Make Smartphone Photos Look Professional?
Although the quality of phone photos appears comparable to that of a DSLR when viewed on a device, when printed, it’s obvious that they are not.
There are a few reasons photos shot using a smartphone are inferior to those taken using a modern digital camera. One reason is because the phone camera’s settings are automated.
Automatic settings make it easy to snap a candid photo, but give the photographer limited control over the focal range, color range, or exposure of the image captured.
Other corrections are needed not because of the phone’s automation, but due to the candid nature of phone photography, its inferior sensor, and the lack of a premium lens.
The most common phone photo corrections are fixing color and lighting and increasing resolution.
As candid photos are not staged, they will sometimes have unwanted elements, be out of focus, or need cropping.
In contrast, when using a DSLR or mirrorless camera, I have the option to manually adjust settings, such as the aperture, ISO, and shutter speed.
Plus, I can focus my high-quality specialized lens. This helps me achieve the desired artistic effect and produce a superior image to a smartphone photo.
Ok, so let’s get started and see how close we can replicate this control using AI in post-processing. Welcome to the AI photo upgrade toolkit.
The Tool Kit: AI Tools for Editing Smartphone Shots
For this article, I will, for the most part, use Photoshop’s AI tools and features.
To achieve the best results, set your smartphone camera’s settings to RAW.
A RAW file is minimally processed and not compressed, so using a RAW file will give you more room for improvement when editing.
AI Denoise Vs Camera Sensor
If you check the pixel count on your mobile phone photos, you’ll find it’s comparable to that of DSLR or mirrorless cameras.
Don’t rely on this deceptive pixel count to guarantee high-resolution images; phone pixels are often optimized for digital zoom rather than true image quality.
By contrast, DSLR and mirrorless cameras have larger, superior sensors, which capture more light and produce less noise.
They also deliver more accurate color rendering and higher resolution—especially in low-light conditions, such as indoors or at night.
This means one of the first steps to leveling a phone photo up to professional standards is to improve the noise levels.
The trick is to improve noise while retaining the original textures and details without creating a glossy plastic look.
Using intelligent algorithms, the most advanced AI denoising tools can restore detail to the most intricate areas, including hair and even wrinkles (although I prefer to skip the denoise tool for wrinkles).
Ok, let’s put the Photoshop Express AI Denoise tool to the test.
I opened my image in Photoshop’s phone app, a photo of a sunset beach I shot in Bali.
Although this image looks good on my device, when I zoom in, I can detect unwanted pixelation.
To access Photoshop Express’s denoise tool, click Adjustments in the bottom left corner, then select Details.
Reduce Lumina is the AI tool in Photoshop Express that will reduce noise.
You will have the option to isolate sections of the image by selecting an option below the photo – Full, Subject, Background, Sky, Clothes, etc.
Slide the slider below the image, and the AI Luminance tool reduces the grainy brightness-based noise.
Above are the results. I think AI did a great job of increasing clarity, but I wouldn’t compare the result to a high-resolution photo taken using a DSLR camera.
Phone editing apps are a great way to edit photos on the go, but if you want the best results, use specialised AI noise reduction apps such as Topaz Denoise AI or DxO PureRaw 5.


Above is an image I shot on an iPhone 8 (a phone not known for its camera capabilities). As you can see when zooming in, the image is coarse and pixelated.
Using Photoshop’s AI Reduce Noise Filter, I focused on removing unwanted noise from the girl’s profile.
However, although her profile pixelation was softened, much of the detail and texture in the surrounding areas was also lost.


To remedy blurring in other areas of the image, I can isolate the subject from the background before using the filter.


Although the artificial increase in resolution has softened pixelation, the edit does not compete with a DSLR’s ability to capture a sharp, clean photo.
Warning: Don’t overuse AI denoise tools, or you will risk losing essential and authentic details.
AI White Balance & Adjust Light
The latest smartphone cameras do a great job of deducing the right exposure, but struggle with accurate white balance. Why is this? Smartphone cameras are usually calibrated for vibrancy, not color precision.
Smartphone cameras are programmed to enhance the viewing experience rather than to reproduce colors with full accuracy.
By contrast, DSLR and mirrorless cameras analyze the light in a scene and adjust for color cast, delivering more faithful color representation—whites appear truly white, and other tones remain true to life.
If you want a professional-looking smartphone photo, it will most likely need a white balance tweak, and nothing can make balancing whites easier than AI.
AI algorithms scan the image to detect color cast errors within the image. They then adjust color channels to correct the color cast.
Photoshop Express AI Adjust Light will automatically correct odd color casts, such as yellow from a tungsten bulb or blue from shade.
In Photoshop Express, I opened my nighttime photo, clicked Looks, then White Balance.
Here, there are options for Flash, Daylight, Cloudy, Fluorescent, Shade, and Tungsten.


Above the White Balance was fixed for the tungsten color cast, decreasing the red saturation to achieve a more authentic color representation.
What the smartphone camera lacked in WB settings, the AI algorithm made up for.
Below is a photo shot of a white dog in front of a Balinese gateway. Due to the position of the sunlight, the gateway was blown out, and instead of the white dog contrasting with its background, it merged with its grey tones.
You can’t adjust settings to remedy the lighting situation when shooting a smartphone shot, but by using Photoshop Express’s AI lighting adjustment, I could achieve the contrast I was looking for.


The AI Adjust Light tool accurately calibrated my photo; however, even though it has improved the photo’s contrast, I would still not say this is up to the standard of a DSLR shot.
AI Filters Vs Camera Lenses
DSLR and mirrorless cameras can be paired with high-quality lenses, like telephoto lenses, that bring distant subjects into sharp focus.
Due to their size, phone camera lenses simply cannot compete with such advanced lenses.
When phone cameras lack in lens capacity, AI engineers a solution: enter centre stage AI Super Zoom. But can digital technology compete with sophisticated lens technology?
AI Super Zoom works by examining the image and adding pixel data to the photo for detail and to maintain quality. Is it intelligently calculated, or is it a guessing game?
Below is an image I took using an iPhone 12 of rice paddies near Ubud in Bali. In the distance is a small wooden hut.


I put Photoshop’s AI Super Zoom to the test and magnified the image by four to see how much artificial detail and clarity I could achieve.
I found Photoshop’s AI did a great job of creating extra pixels so that the hut no longer looked pixelated.
However, as you can see in the image below, instead of bringing clarity and definition, it generated a soft blur.


In contrast, if I were using a DSLR in combination with a telephoto lens, I would be able to zoom right in and magnify the hut’s every detail—capturing all the hut’s minute textures as if I was standing beside it.
A zoom lens uses visual optics to change focal length, zooming in on the actual subject. This means the information a zoom lens transfers to the camera’s sensor is an actual, authentic representation of the scene.
Below is an image I took of a Banten, Hindu offerings placed outside a Balinese home.


This is not a scene you would take using a zoom lens, as the subject matter is too close to the camera. But Photoshop’s AI Super Zoom can also be used to increase a photo’s resolution.


Using Photoshop’s AI Super Zoom, I zoomed in digitally, multiplying the pixel count by four.
As you can see in the example above, Photoshop’s AI has expertly reduced pixelation without losing clarity.
Another AI lens substitute is Depth Blur. The AI Depth Blur filter is used to give the appearance of depth.
I tested its abilities on a photo I took in Bali of a Hindu stone relief at Ubud’s famous monkey forest.


I wish to achieve a shallow depth of field to focus the viewer’s eye on the figure on the left-hand side.
Depth Blur is an AI Photoshop Neural filter. The Depth Blur filter is AI-enhanced, so it’s not completely automated. Using the sliders, I can refine the blur effect.
I use the sliders to reduce the depth of field and adjust the texture of the blur using the Haze and Grain sliders.


Above, you can see the before-and-after filter application shot. In this photo, AI found it difficult to locate a focal subject. I stepped in to manually adjust the edit using the focal slider.
From experience, I know a superior depth of field effect would be achieved by adjusting the aperture on my DSLR camera.
AI Portrait Enhance Vs Studio Lighting
AI image enhancement tools are a social media addict’s best friend when they’re on the go and want to upload images fast without the fuss of manual editing.
AI Enhance will fix lighting balance – adjusting brightness, contrast, and highlights for natural illumination.
These AI tools can apply specific enhancements, such as skin smoothing, to make the final output sharper, clearer, and more professional.


Here is an example of an image I corrected using Photoshop’s AI Skin Smoothing enhance tool.


I think this AI Filter does a good job of compensating for a lack of professional portrait lighting, such as diffused lighting.
AI Crop Tool Vs Manual Crop
When I’m travelling, I take a billion candid photos – everything is so new, vibrant and exciting.
Due to the nature of travelling, I don’t always have time to compose the image. This means one of the most common post-production edits is a quick crop.
As I am a control freak, I prefer to crop manually. I believe my creative eye is far superior to anything AI could ever dream up.
However, for the sake of this article, I decided to hand my shots over to AI.
Let’s see what AI decides compared to what I myself would compose using my trained professional eye.
The Rule of Thirds, the Golden Ratio, the Fibonacci Spiral and Phi Grid are rules employed by artistic masters to compose perfectly balanced and appealing images.
AI uses its artificial intelligence to identify subjects, apply the rules, and then crop.
Although Photoshop Express has Generative Expand, it doesn’t have an AI Crop tool. So to test the AI crop, I switched to Canva.


Uploading my parrot photo, I select the crop ratios. As you can see in the image above, the automatic framing is not appealing. The parrot, the main subject, is partially obscured by the crop.
I click the Smart Crop button, and Canva’s AI accesses the image’s elements and makes an executive AI crop decision.


The result is a balanced composition. The parrot is in view beside its desired lunch above its perch.
I think the AI Crop tool would be particularly useful when batch processing images.
AI Object Remove Vs Physical Staging
When I take photos while travelling, I want my photos to be as authentic as possible.
However, if I take a gem of a photo and there’s an object distracting the viewer’s eye from the main subject or cluttering the image, I might remove it.
This process used to involve uploading my image to Photoshop and putting my editing skills to work to erase the object.
Today, I can edit an image while sipping a mojito (not very professional, I know, but I am on holiday) from my phone using an AI Object Removal tool.


Above is a picture of a girl in a stream in New South Wales, Australia. It’s almost perfectly composed; however, the girls and the green bush behind distract the viewer’s eye.
Using Photoshop’s Remove tool, I can brush over the unwanted elements and wait one second for Photoshop’s AI to generate a replacement fill.


Similarly, you can use AI Background Remove if the image has a clashing or distracting background.
I prefer to present the genuine scene, but sometimes there’s subject matter that’s just too magnificent to leave lost in a cluttered background.
AI Color Filters Vs Camera Sensor
When shooting photos using a smartphone, you might have noticed that the colours are more vibrant than when using a DSLR or mirrorless camera.
Phone cameras are programmed to present vivid colors for device viewing. The automatic setting boosts contrast and saturation, and applies other enhancements.
This means that the scene’s colors will not be accurately rendered, nor will colors be consistently represented through a collection of photos.
Using AI filters and presets in post-production can improve color consistency throughout an album of photos. However, they cannot be relied on to correct a photo’s incorrect color representation.
What is magical about AI filters is that they don’t apply a simple blanket edit.


AI filters have the capacity for intelligent customization, analyzing the image to integrate the photo’s content.
They can calculate if one area is too dark or another too bright, too vibrant or not vibrant enough, creating a consistent effect.
This makes AI filters the perfect solution for achieving a consistent look across a collection of photos, for display either on social media, for clients, or when exhibiting photos.


Above, the same AI filter has been applied in Photoshop Express to three different photos for a uniform look.
Although AI filters help to regulate colors across an album, they cannot replace a digital camera sensor’s ability to realistically capture colors.
AI Headshots vs Professional Headshots
To wind up this article, I will finish with AI headshots vs professionally shot headshots.
AI headshots without a physical photoshoot. You won’t need a date with your hairdresser or to iron your business suit. Plus, they are cheaper!
You can use Photoshop’s AI tools to create professional headshots, but achieving this involves many steps.
Photoshop’s AI can add make-up and fix your hair, even change your attire. However, editing this way is like slowly placing the pieces of a jigsaw puzzle together.
What I would suggest is using a specialised AI headshot generator.
Photo editing apps like Fotor, BetterPic and Canva can generate AI headshots automatically. However, apps such as AI Suitup, Dreamwave and Headshot Pro have more powerful AI and will render superior results.
Upload selfies and AI will scan your facial features, your bone structure, and the distance between your eyes and cheekbones. Then bang, it will generate hundreds of headshots of you.


The results will depend on the quality of the images uploaded. So if you upload shoddy images, the results will be shoddy.
How do AI headshots work? Using a diffusion model, it constructs your image from the ground up, from noisy pixels to a coherent picture.
The complex algorithims can calculate facial structure and render an image in the subject’s exact likeness.
The pros are that the results are immediate and professional. The cons? AI won’t always render your exact likeness; you might have an extra tooth or oversized ears.
An AI headshot is best used if you don’t have the cash for a professional shot, and an exact replicate isn’t essential.
Using a professional photographer, you can be sure you will have high-resolution, studio-quality headshots.
If you want to land that job, remember that a photo speaks a thousand words.
Conclusion
My challenge: could I use AI tools to upgrade the quality of mobile photos to professional standards?
Globally, we take candid shots of daily life, 5 million shots a day, and there is a good reason for this.
Mobile phone cameras have their predictable limitations due to their small sensor, small lenses with fixed apertures, and a lack of true optical zoom.
AI offers some incredible options for editing and can greatly improve the quality of a phone photo.
However, after completing this challenge, I believe that although AI can enhance and correct components of a photo, it absolutely cannot bring a mobile phone photo to the same standard as one taken on a DSLR or mirrorless camera.
For example, AI would have to develop magical skills to accurately and realistically render a faraway wooden hut from a pixelated blur. Whereas a zoom lens can zoom in to capture the actual scene.
AI cannot miraculously guess the colors of a scene to correct a phone photo’s inaccurate color rendering. A DSLR or mirrorless sensor will record accurate color data.
When displayed on a device, photos edited with AI can give the illusion that they are equal to DSLR photos. However, they are far below professional standards.
Phone cameras are unbeatable for convenience and portability. Plus, catching spontaneous candid photos to record our experiences and the world around us is priceless.
If you are using your smartphone’s camera to take quick snaps as a social media influencer or to record your travels, knowing how to use AI photo editing tools is going to be a bonus in creating eye-catching shots.
However, if you want professional-grade photos, my blunt advice is – go buy a high quality camera.
Credit : Source Post


