
If you’re looking for a sparkling way to display your favorite photos, look no further.
In this article, I’ll show you how to make glitter photo frames in simple steps.
Whether you want to make party gifts or add some fun and color to your room, glitter photo frames are an awesome DIY idea.
They’re also the perfect project for spending time with your kids doing something creative.
More fun DIY photo projects:
Materials
- Cardboard gift bag
- Plastic sleeve for documents
- Double-sided scrapbook tape
- Glitter
- Glue
- 4×6″ photo
- Scissors
- Brush
Process
You don’t have to be particularly crafty, so don’t worry. Follow these simple steps and let your creative side run free.
WARNING: Glitter can be pretty messy – the same goes for glue. So, I really encourage you to protect your working table with some newspapers or something you can simply crumple and throw away at the end. Any glitter you don’t catch in the paper can be picked up with a vacuum cleaner and a lint roller.
Step 1

I decided to use a cardboard gift bag for the base of the frame. This metallic one matched the glitter theme very well, and I could use the holes on the top to hang the frame at the end.
However, you can use any cardboard paper or even foam if you prefer. The only thing to consider is that it must be rigid enough to support the structure of the frame.
You don’t have to make a hanged frame. You can glue a magnet in the back to put on your fridge or add a cardboard support so it can stand. If you prefer to do this, you won’t need the holes on the top side of the cardboard.
Having said this, cut your cardboard slightly bigger than the size of your photograph.
Step 2
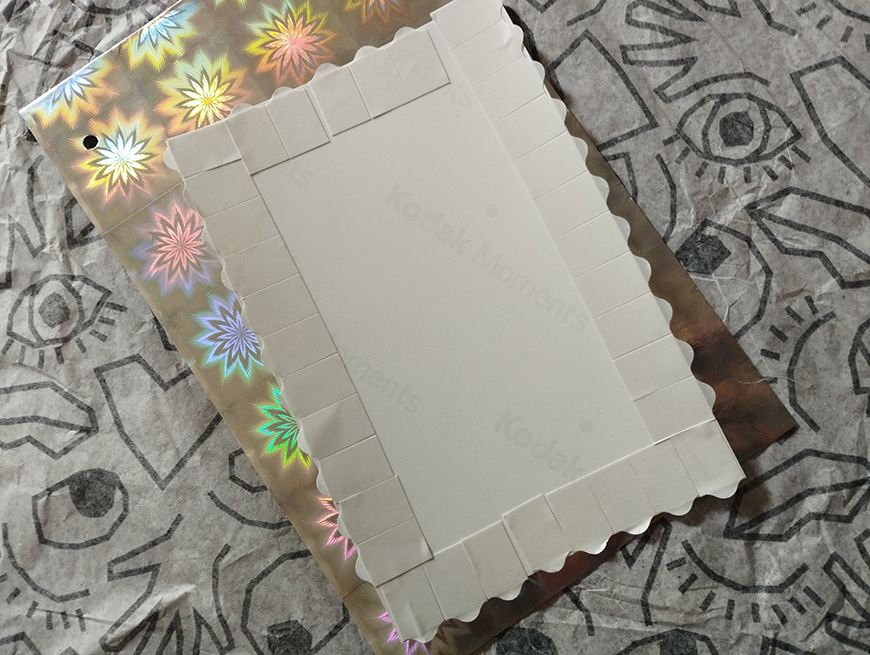
Using the double-sided tape, center the photo on the cardboard. If you can’t find the tape, you can also use glue, but you’ll have to wait for it to dry before proceeding with the next steps.
Step 3
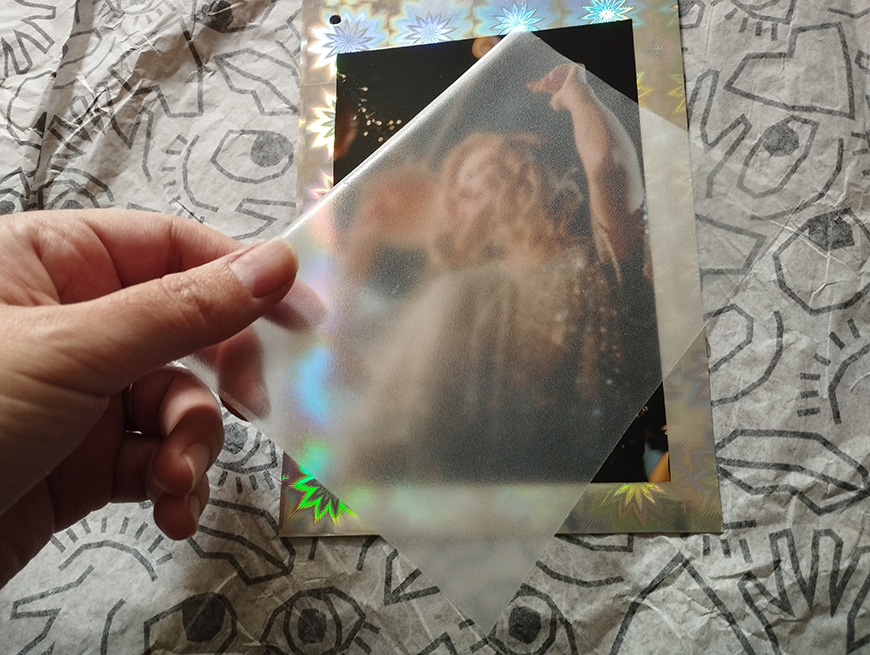
Cut the plastic sleeve so it’s bigger than the photograph but smaller than the cardboard frame.
Then, use the brush to apply glue to three sides of the photograph and paste the plastic sleeve on top of it.
You’re leaving one side without glue because you’re going to pour glitter inside the sleeve – so choose which side is more convenient for you.
I left one of the long sides open so it’s easier for me to work.
Wait for the glue to dry. If necessary, put some weight on top of it – you’ll need everything to be well-sealed so the glitter doesn’t fall out.
Step 4
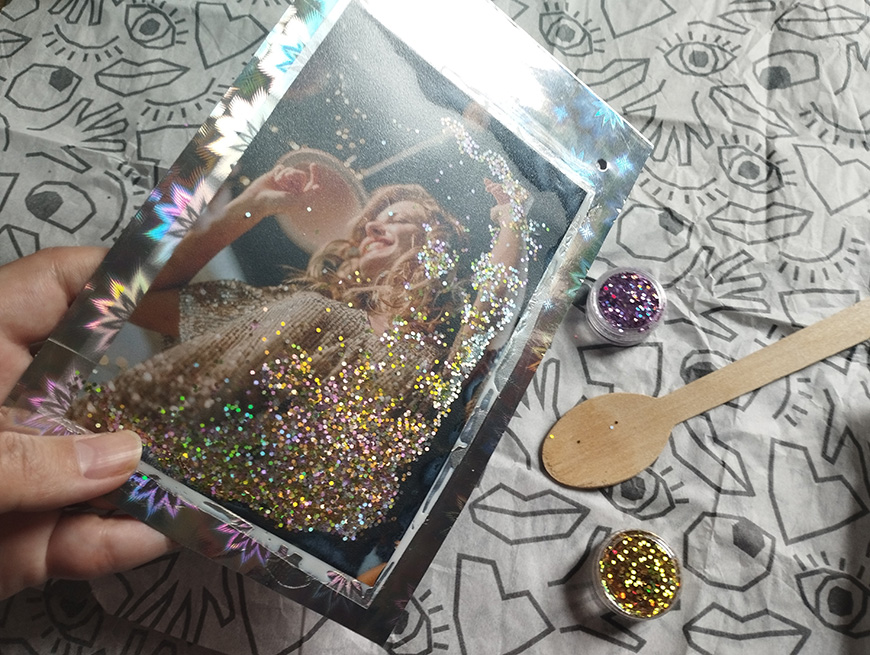
Once the glue is dry, carefully pour some glitter inside the plastic pocket you created by leaving one side without glue. You can use a small spoon if you find it easier.
I’m using a mix of colors, but you can use whichever glitter you want. The quantity is up to you – just don’t overdo it, as you don’t want to cover up the photo.
Step 5
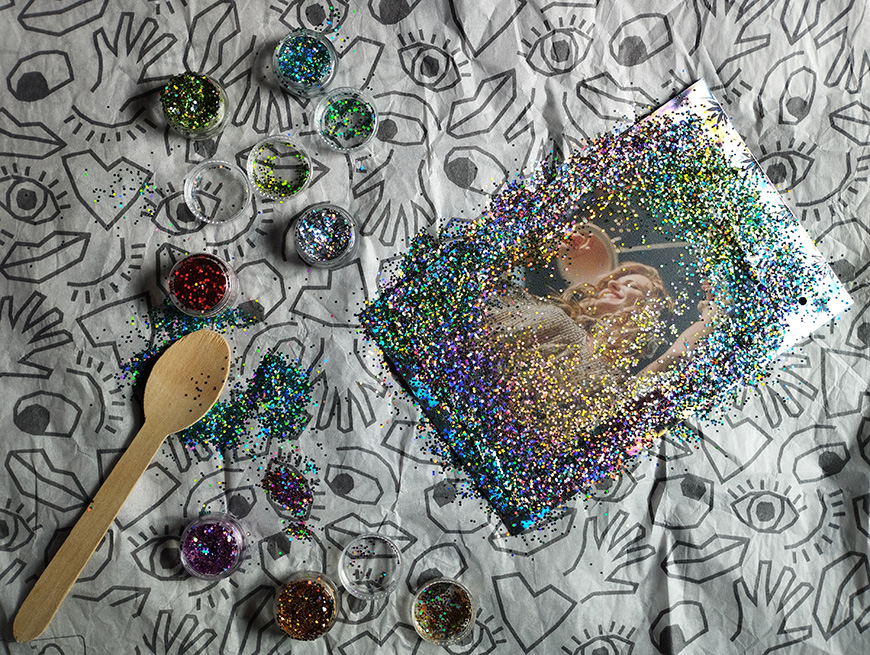
In this step, you can decorate the outer edge of the photo. I’ll use glitter again because that’s the whole theme. However, you can use a ribbon or a second frame from the cardboard/foam paper you used for the base.
To do this, put glue all around the plastic sleeve. Then, while it’s fresh, sprinkle glitter on it. You don’t have to be precise because once it’s dry, all the extra glitter will fall off.
How Much Do You REALLY Know About Photography?! 🤔
Test your photography knowledge with this quick quiz!
See how much you really know about photography…

Step 6
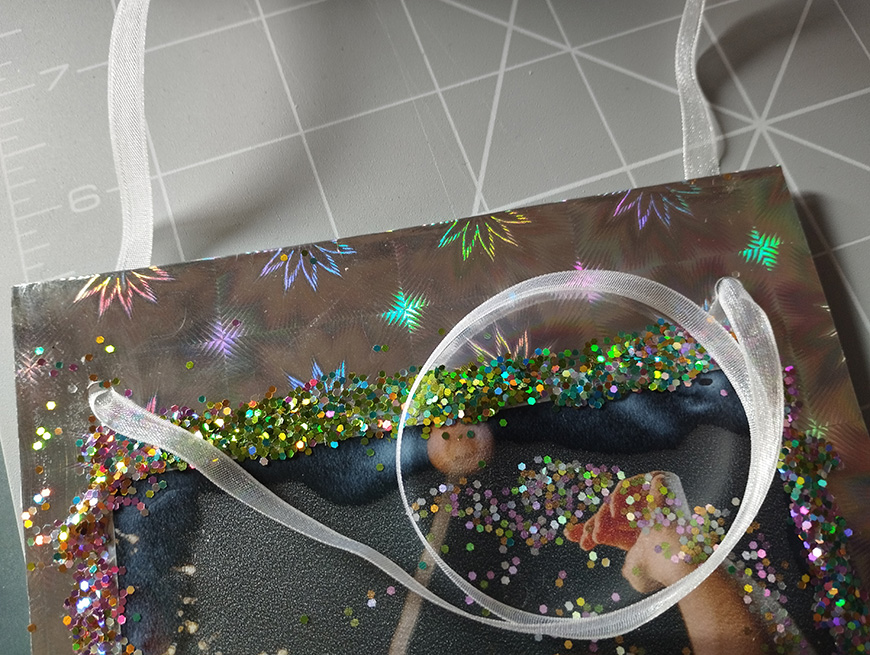
The last step is to insert a ribbon on the top holes so you can hang the frame. Alternatively, you can glue a magnet to the back so you can put it on your fridge.
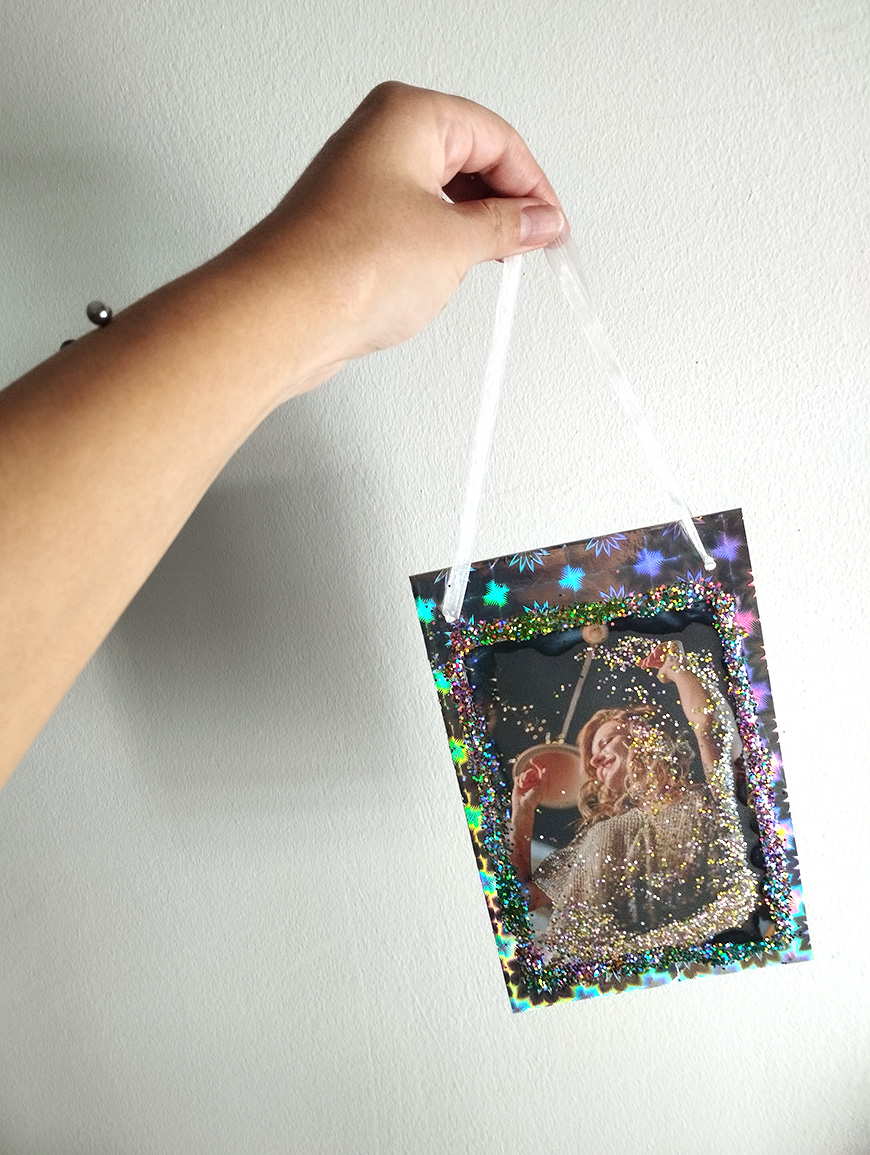
Now, your glitter frame is ready. Every time you move it, the glitter inside will shift and create a new pattern.
Credit : Source Post


